早島町若宮で、内装リフォーム(和室)工事①
早島町若宮で、和室の内装リフォーム工事をさせていただきました。
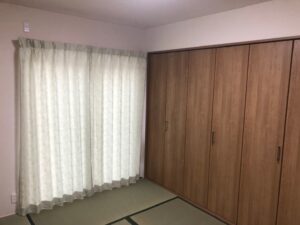
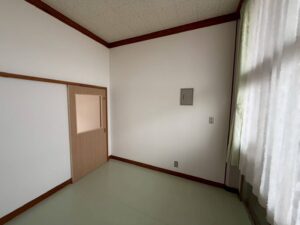
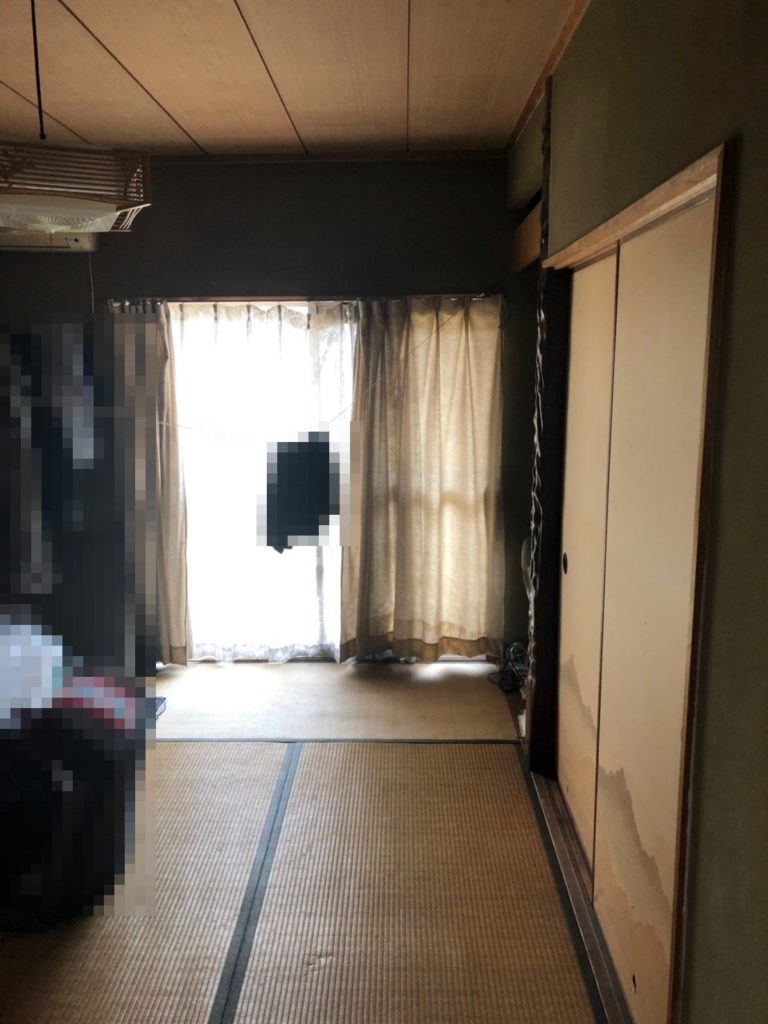
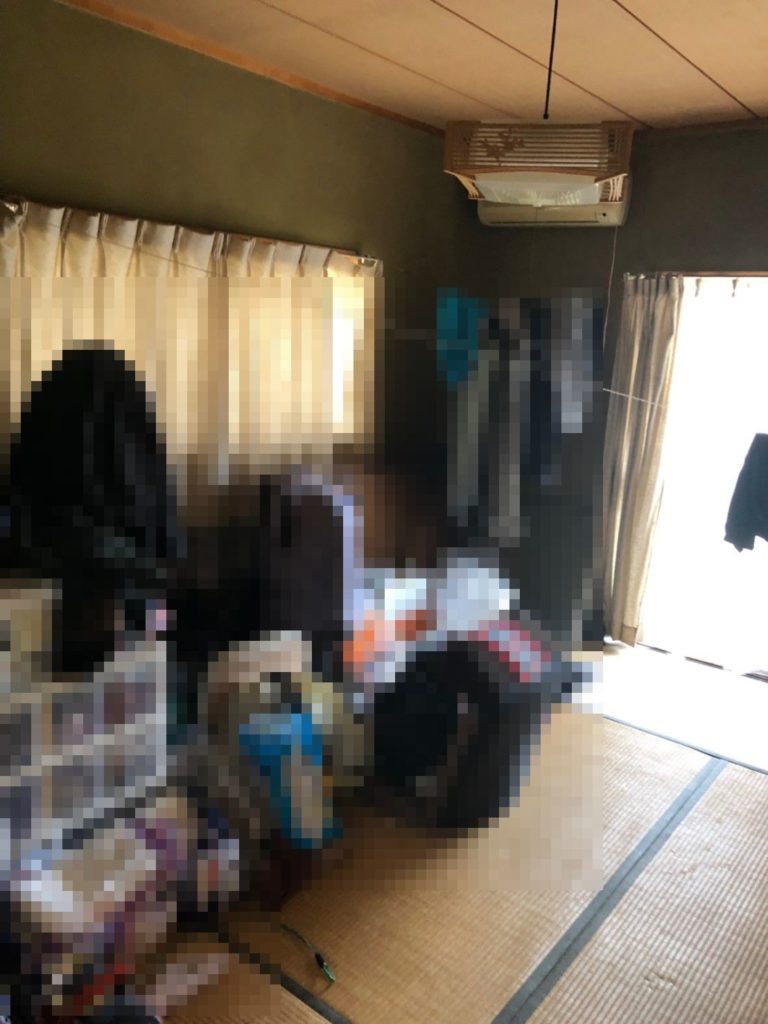
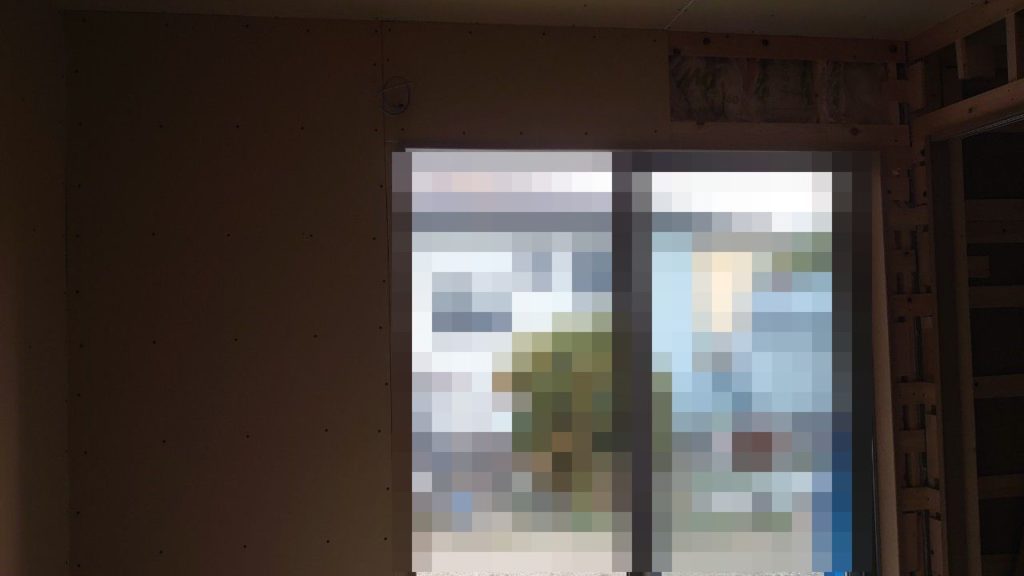
工事前の写真です。
![](https://www.h-itm.com/blog/wp-content/uploads/2020/03/和室リフォーム-1-768x1024.jpg)
![](https://www.h-itm.com/blog/wp-content/uploads/2020/03/和室リフォーム-2-768x1024.jpg)
![](https://www.h-itm.com/blog/wp-content/uploads/2020/03/和室リフォーム-3-1024x576.jpg)
島さんと田中くんが工事に入りました。まずは解体です。
![](https://www.h-itm.com/blog/wp-content/uploads/2020/03/和室リフォーム-4-1024x576.jpg)
![](https://www.h-itm.com/blog/wp-content/uploads/2020/03/和室リフォーム-5-1024x576.jpg)
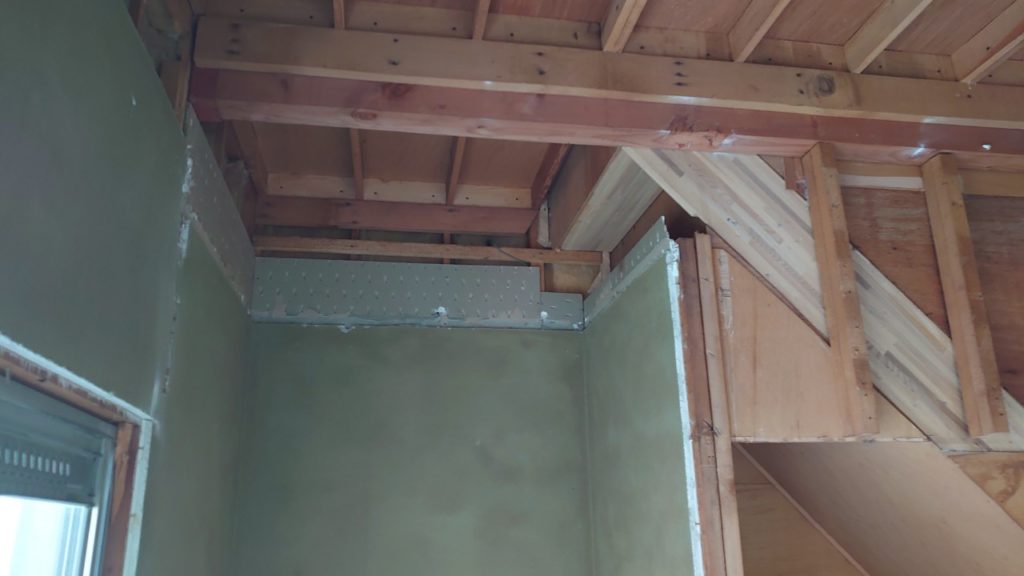
下地工事です。 木材の下地の上に石膏ボードを張っていきます。
![](https://www.h-itm.com/blog/wp-content/uploads/2020/03/和室リフォーム-7-1024x576.jpg)
クロス仕上げの壁や天井には、ほとんどの場合が石膏ボードが使われています。
![](https://www.h-itm.com/blog/wp-content/uploads/2020/03/和室リフォーム-6-1024x576.jpg)
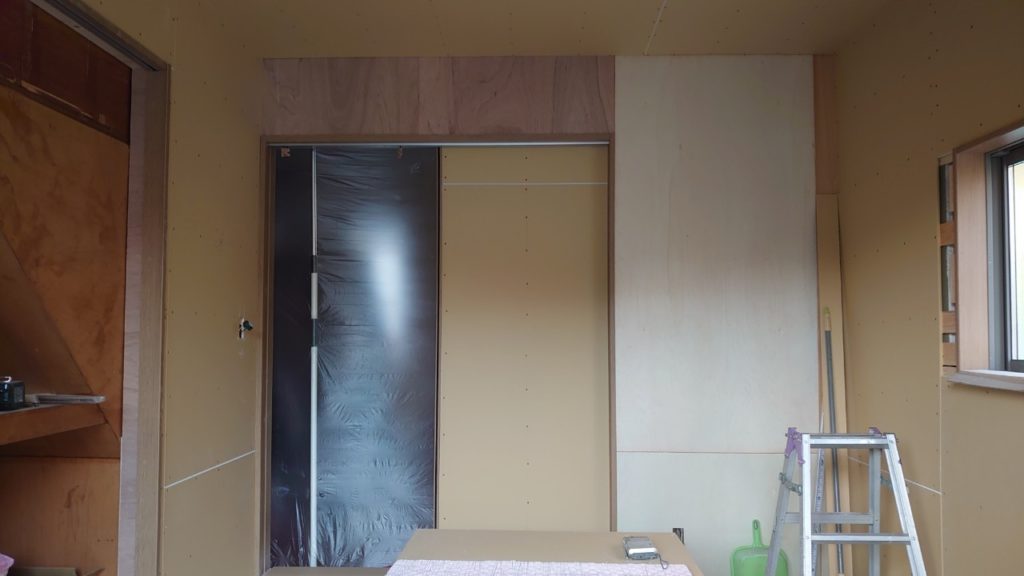
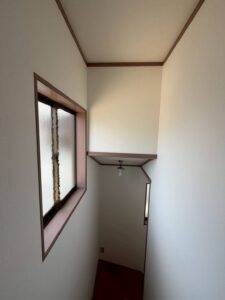
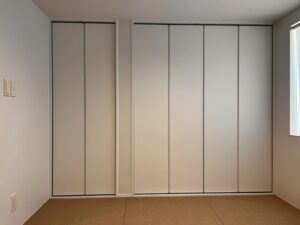
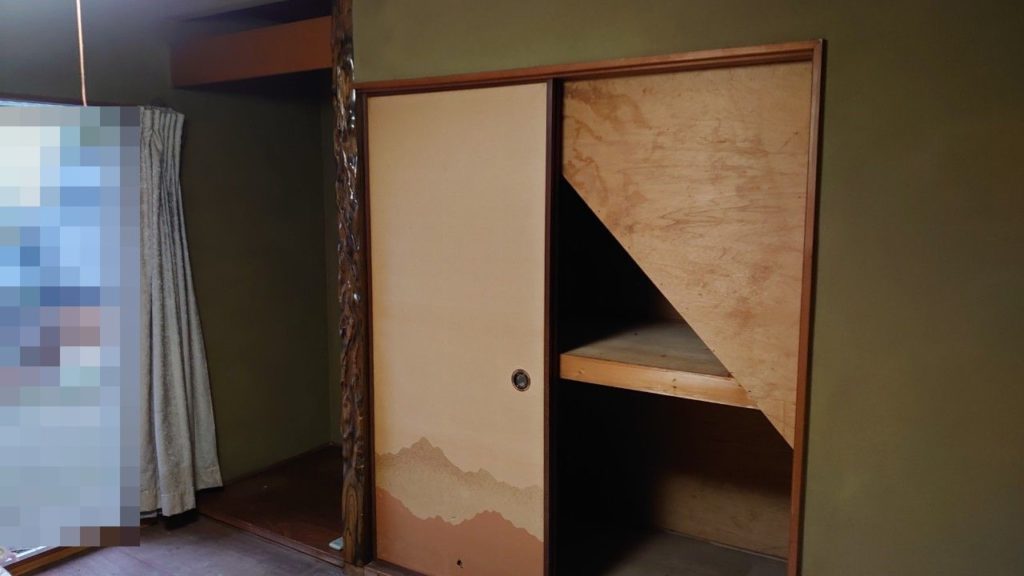
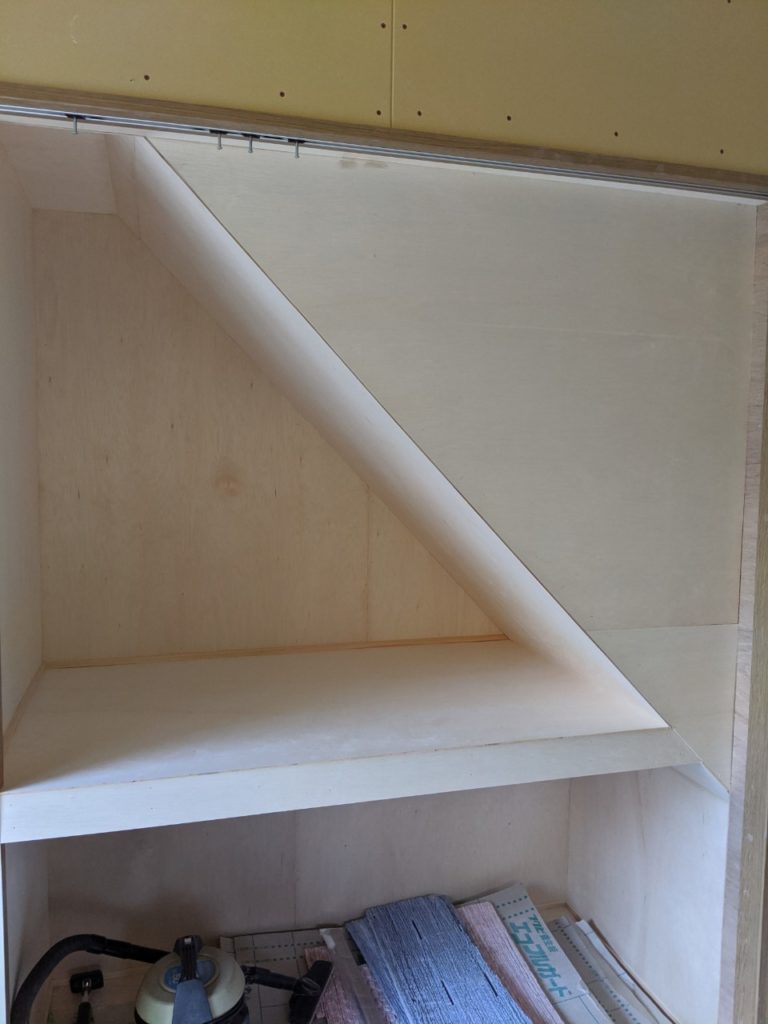
床の間と押入がありましたが、床の間も収納スペースに変更します。 右側の収納は、階段が通っているので三角になっています。
![](https://www.h-itm.com/blog/wp-content/uploads/2020/03/和室リフォーム-8-576x1024.jpg)
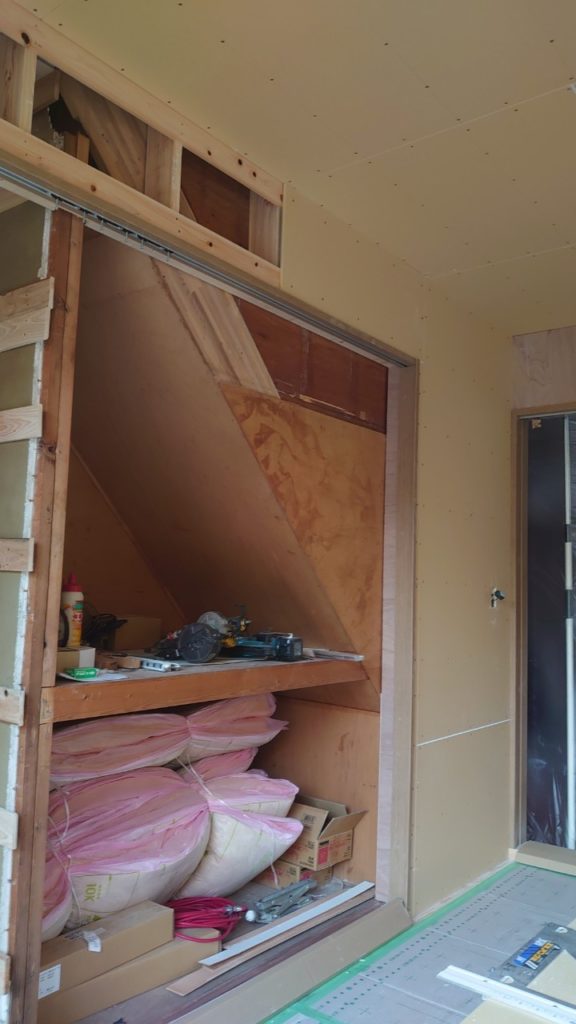
収納は家族しか目にしない部分なので、既存の壁の上に増し張りすることで少し価格を抑えられます。
![](https://www.h-itm.com/blog/wp-content/uploads/2020/03/和室リフォーム-9-576x1024.jpg)
中段や枕棚が入りました。
![](https://www.h-itm.com/blog/wp-content/uploads/2020/03/和室リフォーム-10-1024x576.jpg)
![](https://www.h-itm.com/blog/wp-content/uploads/2020/03/和室リフォーム-11-1024x576.jpg)
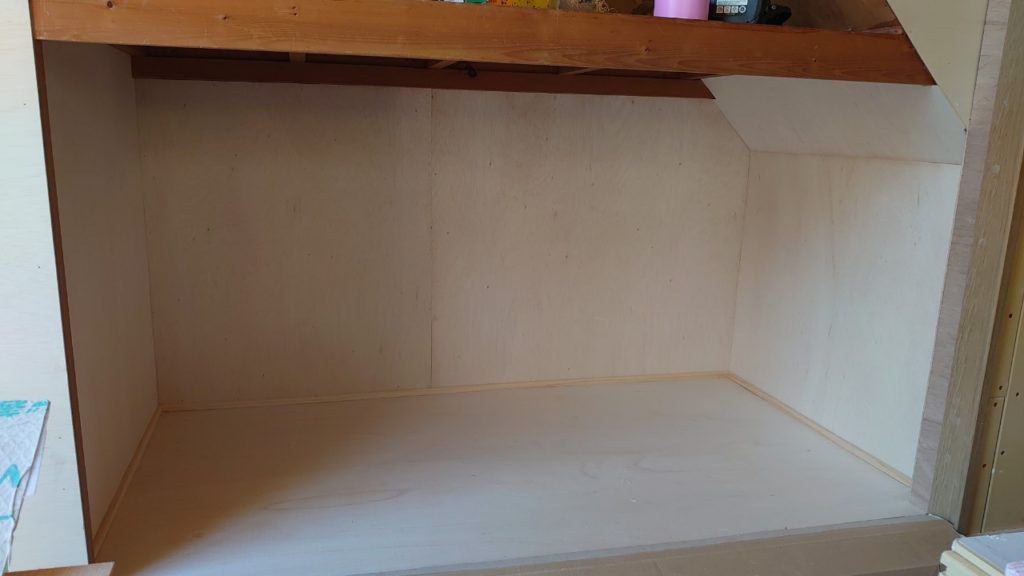
収納の形にあわせて加工したベニヤを張り、見た目もキレイになりました♪
![](https://www.h-itm.com/blog/wp-content/uploads/2020/03/和室リフォーム-12-768x1024.jpg)
仕上げ工事と完成写真は、また明日ご紹介します(^^)